Aisha/Gallery/Story: Difference between revisions
From Elwiki
Gameboy224 (talk | contribs) m (Text replacement - "Adams%27_Welcome_Party_1-2" to "Adams%27_Welcome_Party_3-3") |
Gameboy224 (talk | contribs) No edit summary |
||
| (3 intermediate revisions by the same user not shown) | |||
| Line 1: | Line 1: | ||
=== Prologue === | === Prologue === | ||
<gallery widths=150px heights=150px> | <gallery widths=150px heights=150px> | ||
File:AishaT1.png| | File:Aisha Prologue 1.png|Prologue Panel | ||
File:Aisha Prologue 2.png|Prologue Panel | |||
File:Aisha Prologue 3.png|Prologue Panel | |||
File:AishaT1.png|Old tutorial panel. | |||
File:AishaT2.png|Old tutorial panel. | File:AishaT2.png|Old tutorial panel. | ||
File:AishaT3.png|Old tutorial panel. | File:AishaT3.png|Old tutorial panel. | ||
| Line 20: | Line 23: | ||
=== Side Story === | === Side Story === | ||
<gallery widths=150px heights=150px> | <gallery widths=150px heights=150px> | ||
File:Adams%27_Welcome_Party_3-2.png|Adams' Welcome Party | File:Adams%27_Welcome_Party_3-1.png|Adams' Welcome Party 3 | ||
File:Adams%27_Welcome_Party_3-3.png|Adams' Welcome Party 1. | File:Adams%27_Welcome_Party_3-2.png|Adams' Welcome Party 3 | ||
File:Lost Power 2.png|Lost Power 2. | File:Adams%27_Welcome_Party_3-3.png|Adams' Welcome Party 3 | ||
File:Lost Power 5.png|Lost Power 5. | File:Lost Power 2-1.png|Lost Power 2 | ||
File:The Girl Who Lost Her Mana 4- | File:Lost Power 2-2.png|Lost Power 2 | ||
File:The Girl Who Lost Her Mana 4- | File:Lost Power 5-1.png|Lost Power 5 | ||
File:The Girl Who Lost Her Mana 8.png|The Girl Who Lost Her Mana 8. | File:Lost Power 5-2.png|Lost Power 5 | ||
File:The Girl Who Lost Her Mana 4-1.png|The Girl Who Lost Her Mana 4 | |||
File:The Girl Who Lost Her Mana 4-2.png|The Girl Who Lost Her Mana 4 | |||
File:The Girl Who Lost Her Mana 4-3.png|The Girl Who Lost Her Mana 4 | |||
File:The Girl Who Lost Her Mana 4-4.png|The Girl Who Lost Her Mana 4 | |||
File:The Girl Who Lost Her Mana 8-1.png|The Girl Who Lost Her Mana 8 | |||
File:The Girl Who Lost Her Mana 8-2.png|The Girl Who Lost Her Mana 8 | |||
File:The Girl Who Lost Her Mana 8-3.png|The Girl Who Lost Her Mana 8 | |||
</gallery> | </gallery> | ||
Latest revision as of 22:41, 3 December 2023
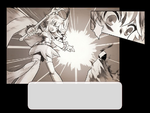
Prologue
-
Prologue Panel
-
Prologue Panel
-
Prologue Panel
-
Old tutorial panel.
-
Old tutorial panel.
-
Old tutorial panel.


Story
-
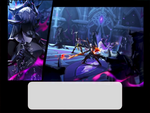
Ruler of the Nasods
-
Not a Complete Farewell.
-
Not a Complete Farewell.
-
Not a Complete Farewell.
-
Unexpected Information.
-

Clues About the Shadow Earl.
-
Abyss Worshiper.
-
Descent into the Abyss.


Side Story
-

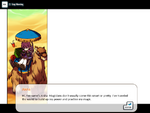
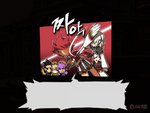
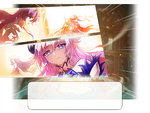
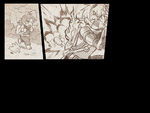
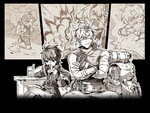
Adams' Welcome Party 3
-

Adams' Welcome Party 3
-

Adams' Welcome Party 3
-
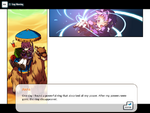
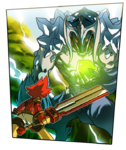
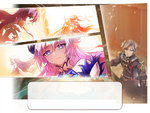
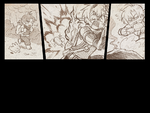
Lost Power 2
-
Lost Power 2
-
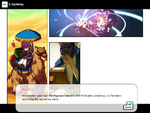
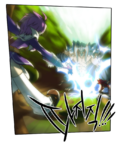
Lost Power 5
-
Lost Power 5
-
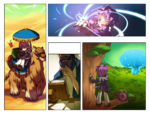
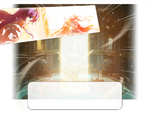
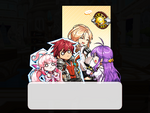
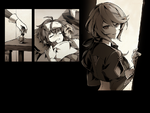
The Girl Who Lost Her Mana 4
-
The Girl Who Lost Her Mana 4
-
The Girl Who Lost Her Mana 4
-
The Girl Who Lost Her Mana 4
-
The Girl Who Lost Her Mana 8
-

The Girl Who Lost Her Mana 8
-
The Girl Who Lost Her Mana 8


